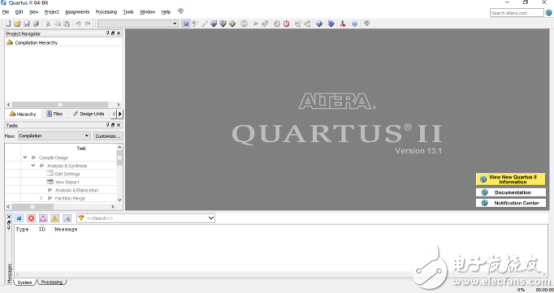
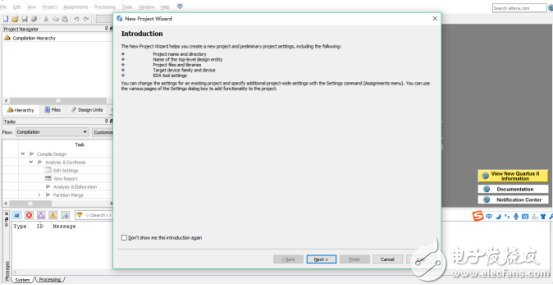
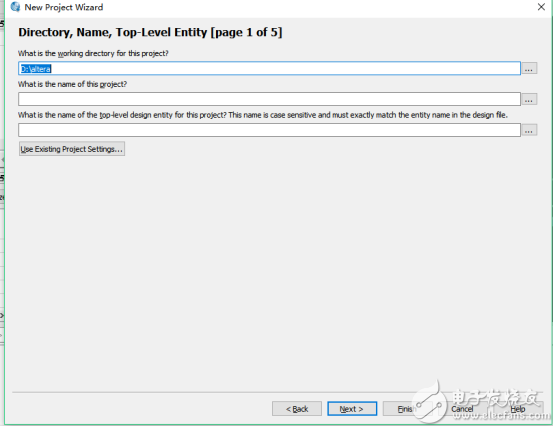
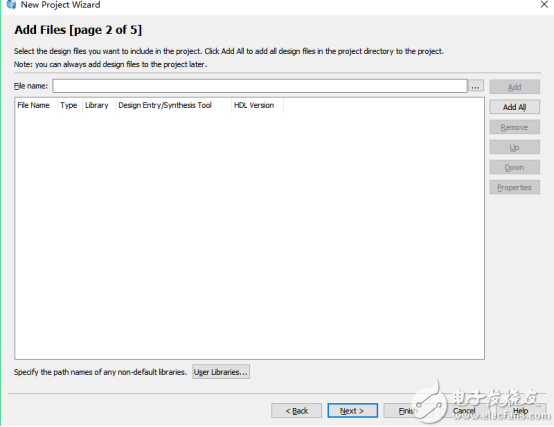
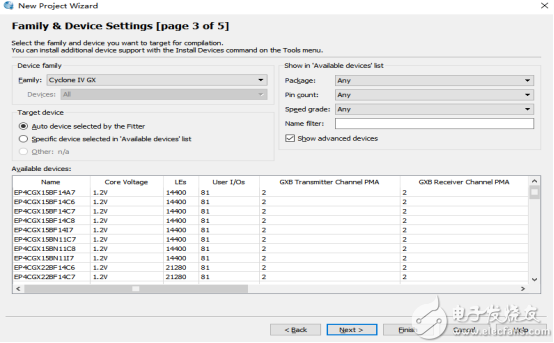
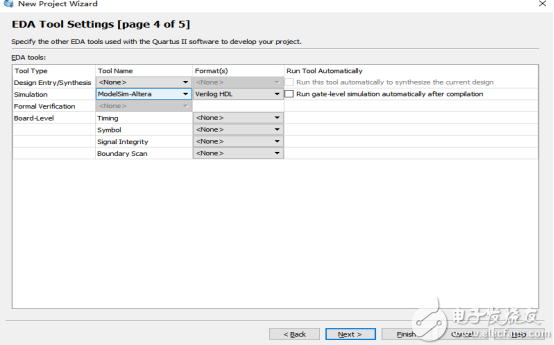
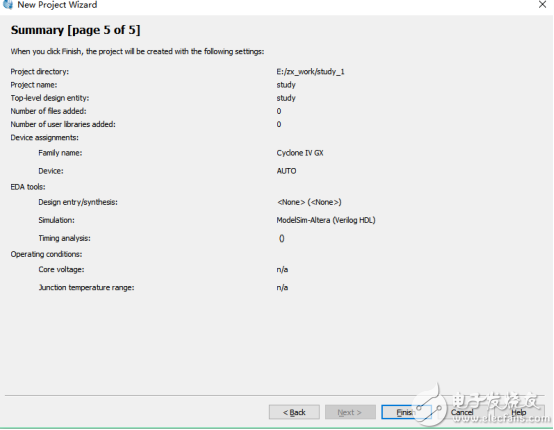
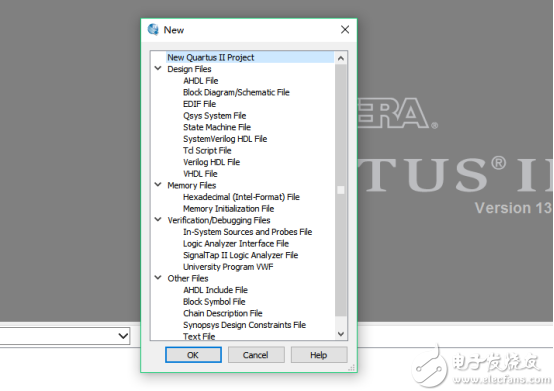
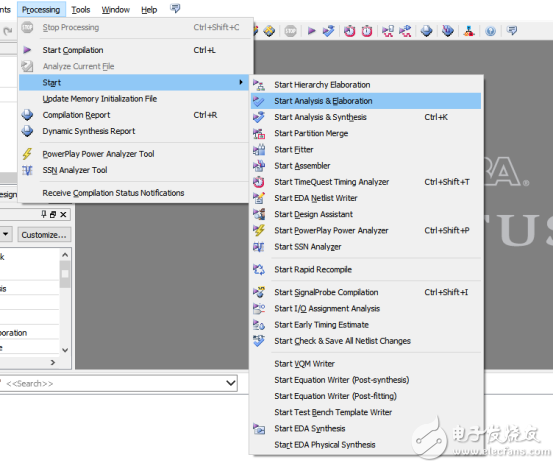
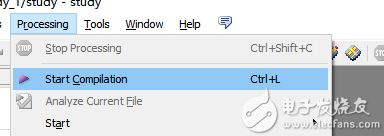
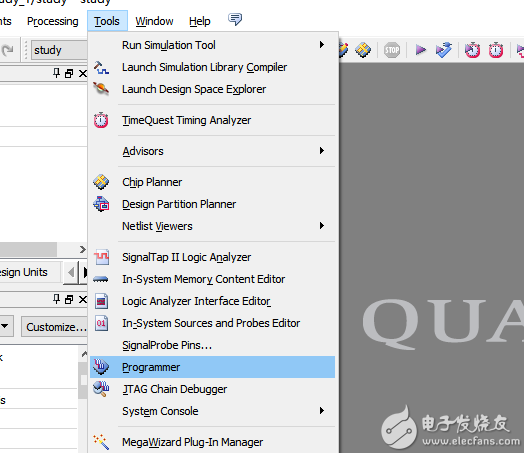
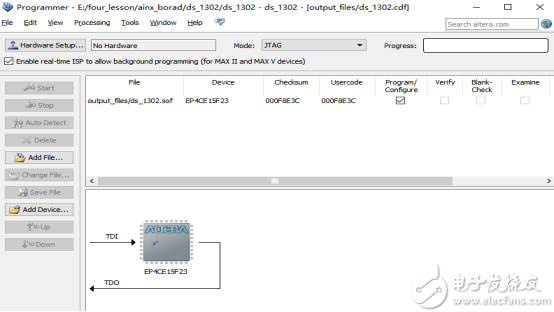
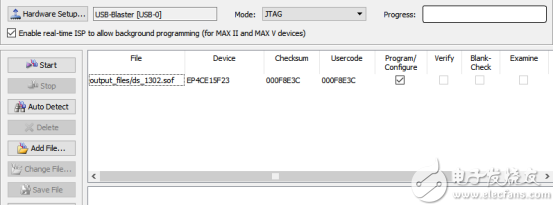
The previous article mentioned the installation and cracking of the software, and the software installation package included with the attached network disk was shared with everyone. Here we talk about the establishment of an FPGA project. Click on the desktop quartus icon to open the software. Then click on the menu above the software: click FIFE -- New projiec to create a new project. Â Â Click Next, the following window will appear, ask you your work path, and the name of the project, as well as the name of the top layer ( Note : The project must not be placed on the C drive , there is a file named Chinese, this will not compile the past Can also be considered a wrong operation ) . Give your project a name and then the next step. Continue to the next step (this page indicates that you can add files. Files in our quartus are .v files) After the next step, the following page appears. This page is the chip type of the development board we used. The model of the general chip is written on the board directly above the FPGA chip. Everyone can seriously watch and select it. If you choose the wrong chip The information will cause us to assign the port allocation pin when the allocation is not up, of course, the download can not enter the board. After selecting the right chip, next step, this page is the information we can select for simulation. We select our simulation tool by drop-down, as well as the language. Verilog is used by the landlord, as shown in the figure below. Â After clicking Next, there will be a page, this page is to tell us the project information, such as project name , project path, chip, etc. It is recommended to select the correct one time (we can also modify these later in the resume project) Then click Finish. This successfully creates the project. Â After we have built the project, we need to write code, etc. Click Fife and select New----VHDL File. Then when we write the code, follow the operation of the following figure. After compiling, proceed to the next step, otherwise check the wrong place, find out the mistake and correct it. After compiling, we can write our software incentives, also called tests, and then simulate whether our code is correct, as shown in the figure below. If the simulation has no problem, we can assign the key to the port of our code, as shown below. Â Â Then compile completely and generate a download file. After compiling and passing, download it, as shown below. Connect our FPGA board and download line, install the driver, and choose the following: The following screen will appear: Then click Start, if there is no .sof file, everyone can click Then add the sof file from the folder, the operation screenshots are as follows: Then your project directory appears, click on the output_files file, open there .sof file, select just fine. Through the above steps, everyone basically mastered some simple operations of the software, and will share some small projects in later updated articles. I hope everyone will pay more attention to it. If there is any problem, you can add FPGA communication group: 282124839, welcome everyone to exchange and learn together. Sata 15P Connector,Sata Computer Connector Socket,Sata Disk Connector,Sata Hard Disk Connector Dongguan ZhiChuangXing Electronics Co., LTD , https://www.zcxelectronics.com